


Complete Guide to Lift Installation Steps and Pricing
Thinking of putting up an elevator in a residential home or business building can be cumbersome. This is because when I was studying the issue initially I was exposed to a rich abundance of jargon, regulations, price variables, initially this seemed chaotic. Subsequent discussion is an in-depth outline of the main phases of an lift installation process, along with the average costs of the respective phases. The discussion is to be simple and pragmatic allowing you to make well- informed decisions.
Step 1: Coming up with a suitable type of lift
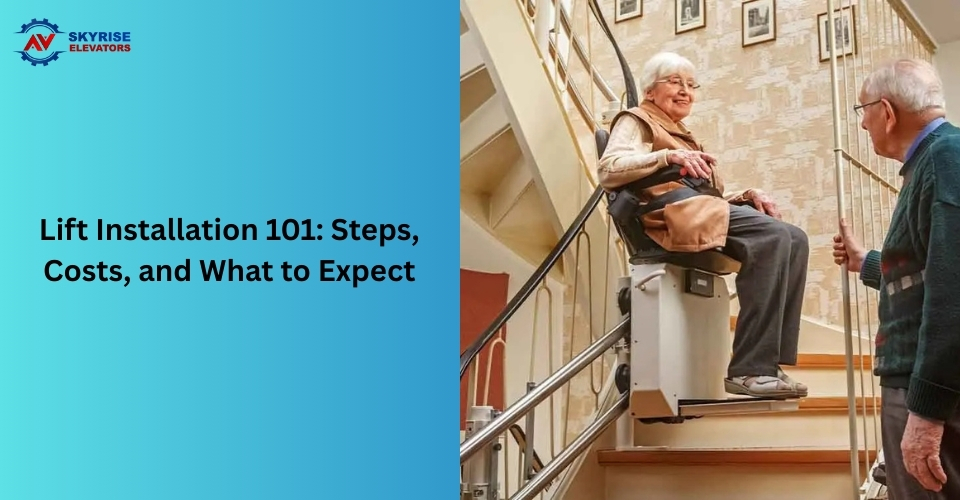
The first one is the identification of lift configuration that will comply with your unique needs. The potential alternatives here are hydraulic lifts, traction lifts, machine-room-less (MRL) lifts and stairlifts (for single-flight installations). Each of the options has its own unique benefits and drawbacks that are determined by the height of the building, financial budget, and structural requirements. I have soon found that choosing the type of the lift that can match the specifics of the building will save time and money in the process of implementing the work.
Step 2: A site survey and planning
Shaft dimensions will be measured on a site survey, foundations will get an inspection, electrical requirements and structural suitability will be confirmed by a professional installer. Such assessment can make apparent latent problems like lack of headroom or failure of the supporting members. In my property the survey revealed a small beam which required strengthening. Preservation of the overall project timeline was realized through avoidance of over-ambitious expectations that this concern was realized at an early stage.
Step 3: Regulations and permits
There is a requirement that permits should be bought in most jurisdictions in the case of any elevator installation. Although the tasks of most important documentation should be undertaken by the assigned installer, a client should take the initiative to understand the local building requirements and the orchestrating legislation on the design and safety of elevators. Furthermore, the scheduling of inspections at decisive moments of the project is usually the norm, and the aspect of logistics deserves to be made a part of the general schedule.
Step 4: Preparation of structural works and shaft work
Depending on the type of lift, various needs can include a pit at the lower level, an exclusive machine room or a minimum of shaft adjustments. With MRL systems and many of the modern solutions, a discrete machine room is no longer required, which can significantly save on capital costs. In this stage, the structural contractors perform any foregoing work required to have a safe installation done.
Step 5: Hardware and installation of electrical items
After the shaft is finished, installation of the lift machinery is put in place followed by the rails, lift cabin and control systems. This is the time where electrical wiring, safety equipment and crash hardware are put in place and tested. This phase tends to require relatively skilled technicians, and effective communication related to the working hours and possible noise will help to reduce interference to the neighbours and occupants of the building.
Step 6: Testing and commissioning
Before a lift is put into service it must undergo rigorous testing on whether it meets the safety requirements, whether it is leveled, how the doors operate as well as whether it is responsive against emergency or not. These verifications and sign-off processes require, in most cases, the approval by the inspectors or certifying agents before the installation could be used. In case of approval the installer will provide documentation and well detailed user instructions.
Typical timeline and what to expect
From first site survey to final commissioning, a standard residential or low-rise project usually takes between four to eight weeks. Larger commercial projects take longer. Delays can happen if permits are slow, hidden structural work is required, or specific components are backordered. Plan for a realistic timeline and keep in touch with your installer to manage expectations.
Costs explained: what affects the price
Costs vary widely based on lift type, number of stops, shaft work required, finishes, and local labor rates. Below is a simple table comparing typical options.
| Lift Type | Typical Use | Estimated Cost Range* | Pros | Cons |
| Hydraulic | Low to mid-rise buildings | $20,000–$40,000 | Smooth ride, strong load capacity | Requires pit and machine room |
| Traction | Mid to high-rise, commercial | $30,000–$70,000+ | Energy efficient, fast | Higher upfront equipment cost |
| MRL (Machine-Room-Less) | Residential, low-mid rise | $25,000–$50,000 | Saves space, no separate machine room | May cost more for complex shafts |
| Stairlift | Single flight, home use | $2,000–$8,000 | Least invasive, low cost | Limited to straight or curved stair options |
There are estimated ranges that depend on the country and market. A quotation should always be sought with a local supplier to be as accurate as possible.
Some of the major cost drivers are the number of floors, finish of the cabin (low grade metal cabin versus luxury cabin), control systems and any reinforcements. The need to pick convenient finishes to use on cabinets and the decision to invest in quality controls ensured that my project had a brilliant combination of affordability and quality.
Maintenance, running costs and safety
Routine maintenance must be carried out after installation. The majority of the installers provide a maintenance package of annual inspection, lubrication and parts checks. Failure to take care of maintenance exposes it to breakage and it can invalidate warranties. Factor in continuous expenses of electric power, and allow a service level contract that will maintain the system in a compliant and safe state.
Selecting an installer How to select supplier and installer
Choosing the appropriate installer is a very significant choice. My assessment was linked to the following questions:
- Are you a licensed / insured provider that operates in my area?
- Do you have any references to projects of this type?
- Who is dealing with permits and inspections?
- What is encompassed within the warranty and maintenance plan?
- Are you able to provide a run-on timeline, a hard price quote?
I encountered that the more detailed quotes and visible timelines, the better the results proposed by the installers. When a firm commits a survey hastily or gives a vague estimation, an indication of surprise can be interpreted in the future.
- Last pieces of advice based on my own experience
- Get at least three cost estimates to compare what each of them contains.
- Maintain an emergency fund on miscellaneous work.
- Use realistic finishes on high traffic areas.
- Before signing, ensure who does long term maintence.
- Request an understood handover package of manuals and warranty.
A properly planned lift brings real convenience and value to a building. My own lift installation went smoothly because I focused on a realistic budget, chose the right type for the space, and worked with a reputable installer. If you follow these steps, you will be well prepared for a successful project.